

Two Ways to Make the Best Turkey of Your Life!
Two Ways to Make the Best Turkey of Your Life!
also, how and why to dry brine, temps, tools, and everything turkey


Hello!
It’s almost that time of year when we’ve collectively decided to cook a big bird that we’d never cook the rest of the year. Of course it’s intimidating! All your closest friends and family have gathered around the table and the pressure feels high. Will the turkey be cooked through? Is it flavorful? Is it moist? Is it still frozen!?!!! (Sorry for all the moist haters out there, that word will be popping up a lot in this newsletter.) Listen, you don't need to go big on trendy ingredients to make a memorable bird. Instead, I’m gonna teach you the proper technique to get the best out of your turkey.
I’m gonna let you decide between two turkey paths, both will lead you to gloriously browned skin, flavorful flesh, and MOIST meat.
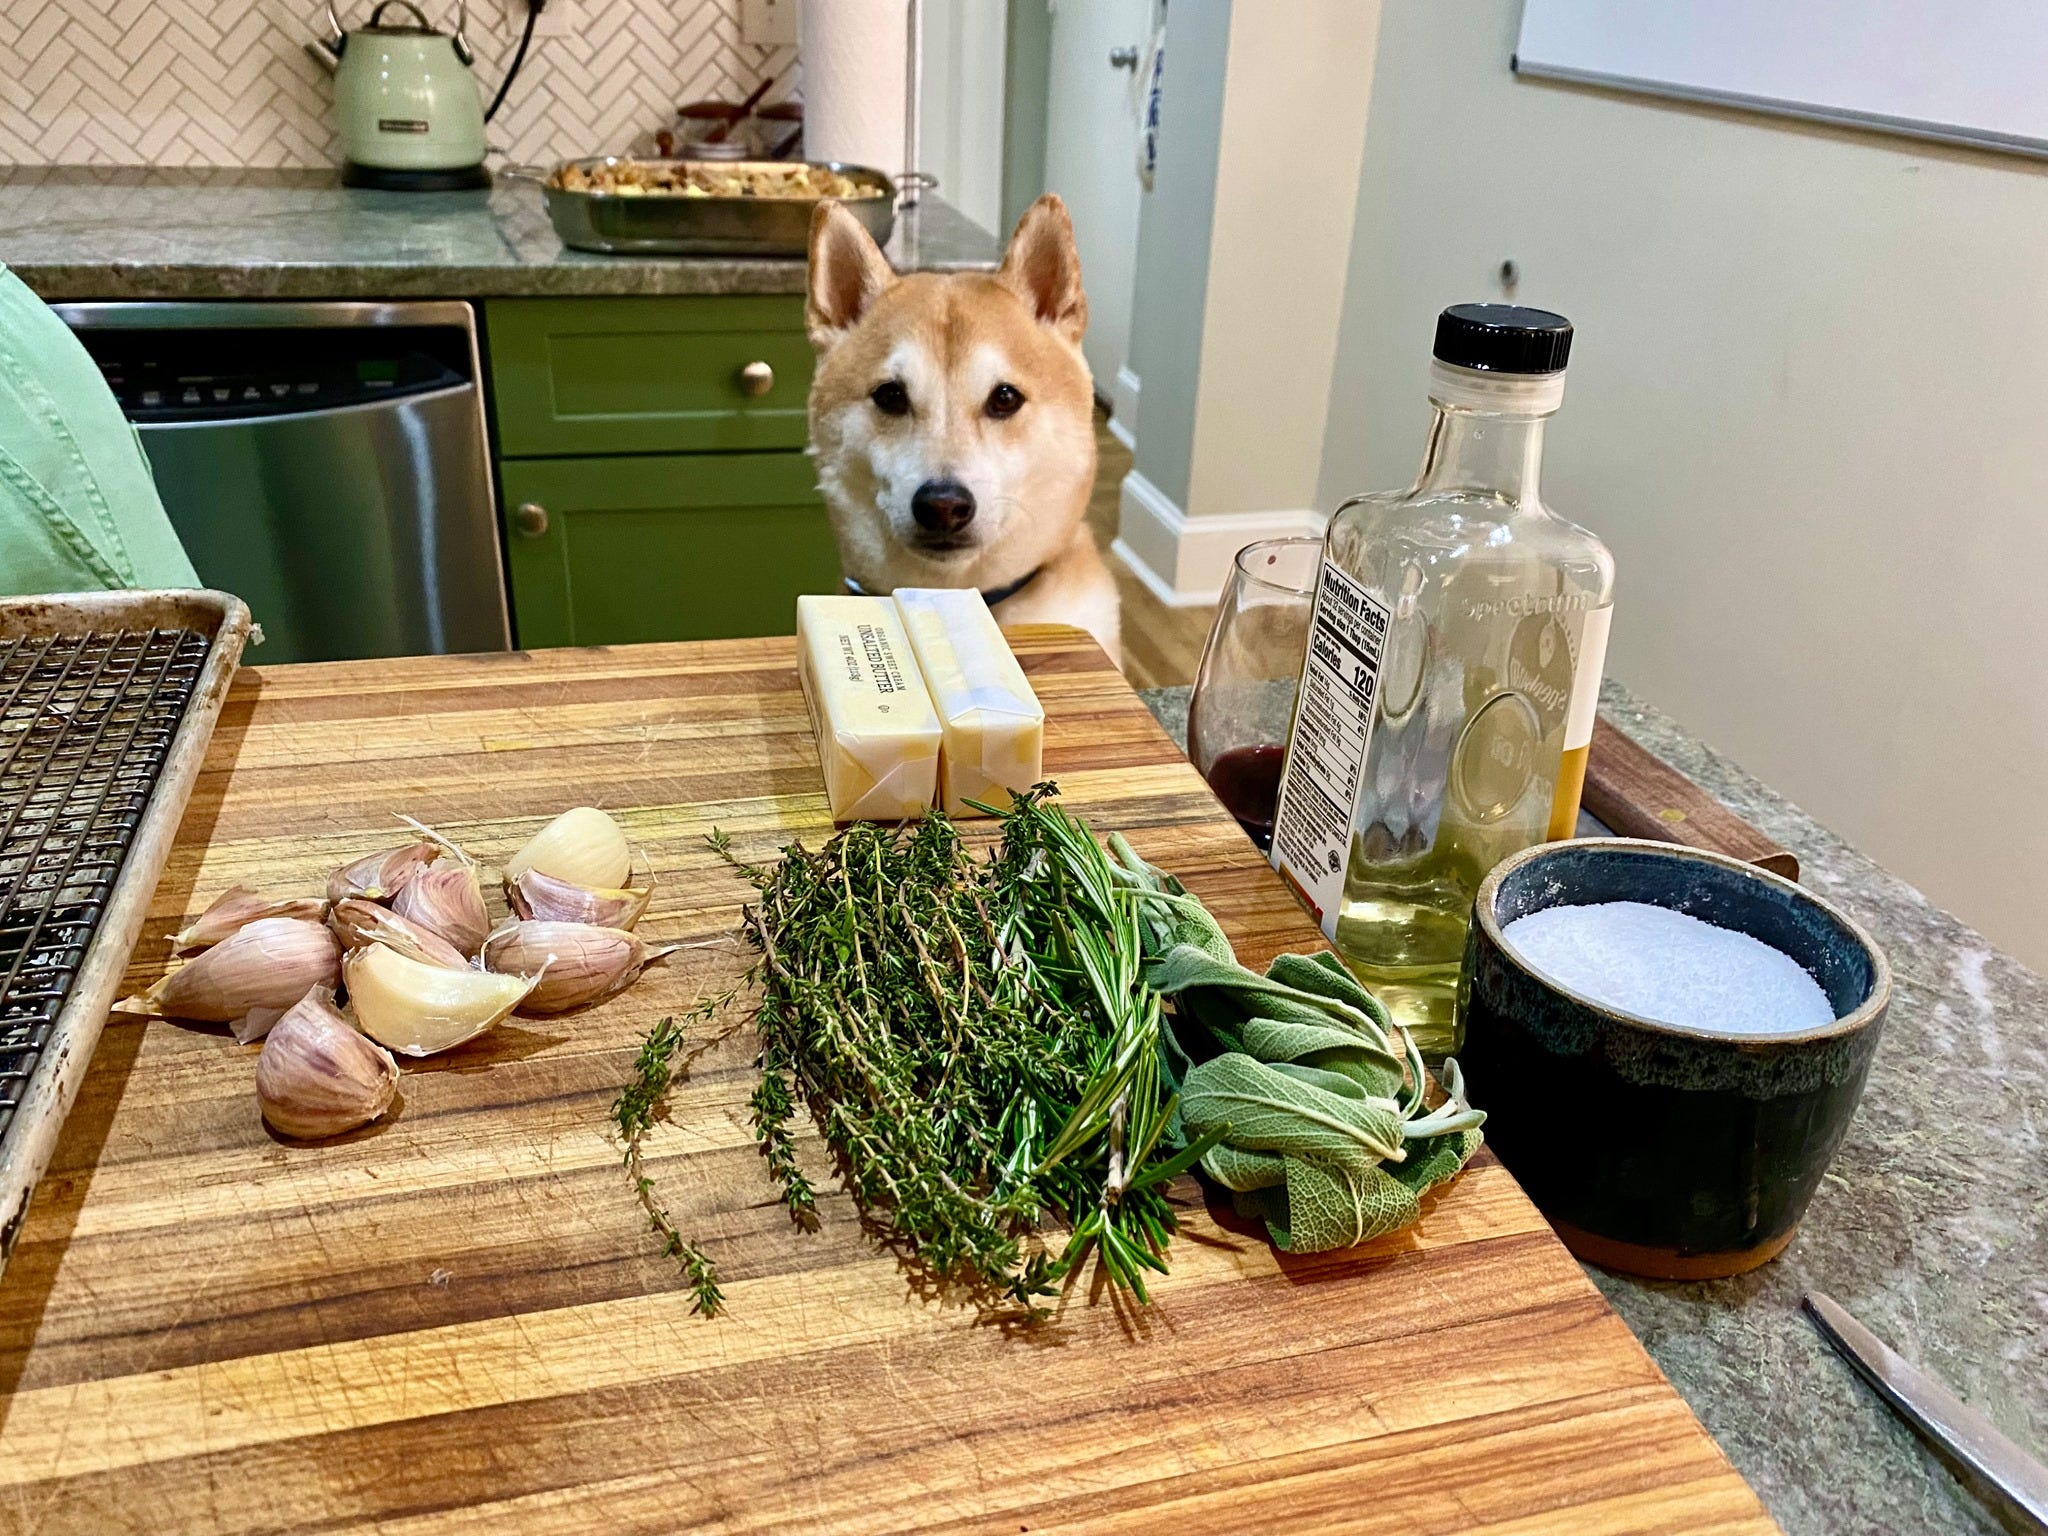
Vito loves Thanksgiving almost as much as I do
For the overachievers:
We’re gonna break the bird down into parts, individually sear each piece, then baste it all in butter, garlic, and herbs to ensure deep browning and flavor that'll rival a steaks (seriously!).
For everybody else:
Let’s get spatchcocking—snip out that backbone and press the birdy flat so it cooks quickly and evenly.
But first, let’s talk about dry brining:

Dry brining is an essential step for cooking nearly any cut of meat, whether you’re broiling fish, roasting chicken thighs, or poaching shrimp. It can be as simple as sprinkling on some kosher salt, to coating a protein with a mixture of salt, sugar, spices, and herbs. Dry brining works by drawing moisture out of the protein, which dissolves the salt and creates a concentrate a wet brine on the surface of the meat. This dissolved salt then gets absorbed into the flesh, seasoning the meat, transforming some of the proteins into a moisture-retaining gel, and drying out and breaking down the fat on the skin, for a crispy and golden exterior.
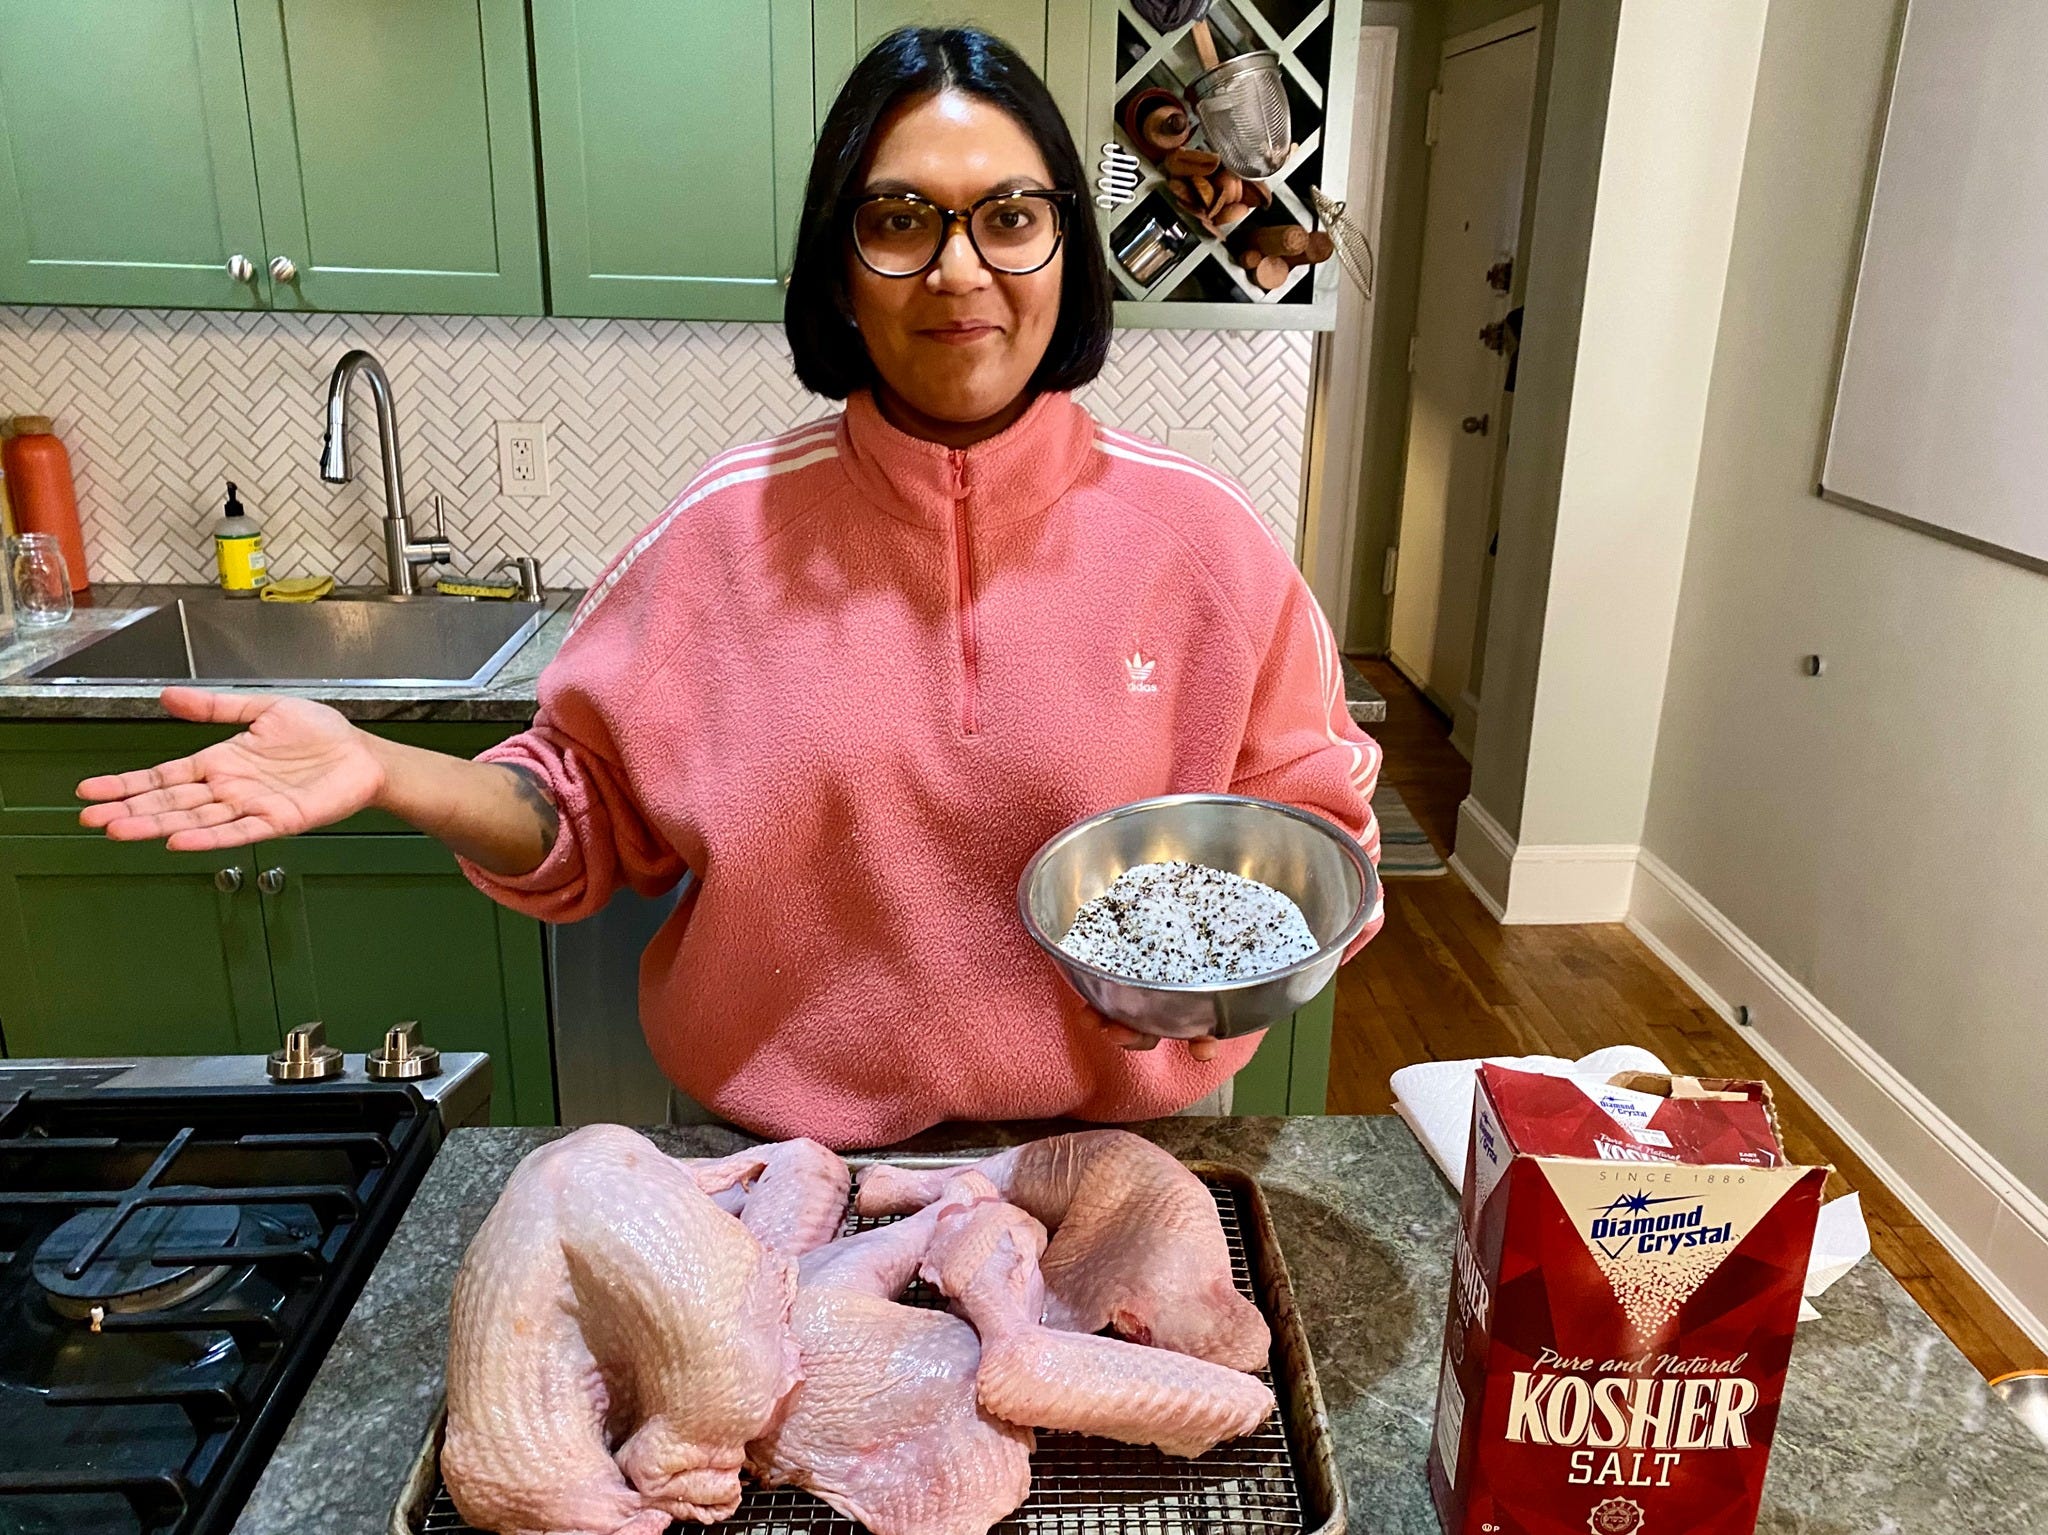
Diamond Crystal kosher salt has big flakes that make it easy to evenly shower on the brine
No, it’s not the same as “seasoning” because of the addition of time. Time allows the salt to dissolve and be drawn into the meat rather than sitting on the surface. If you’ve dry brined something and it looks wet, it needs more time to sit and absorb that liquid. Only the salt will be absorbed into the protein, while sugar aids with browning and spices or herbs only season the exterior.
For turkeys (and chickens, brisket, duck, or really any big hunk of meat) I dry brine with a mixture of 4 parts kosher salt, 2 parts sugar, 1 part black pepper, and ½ part MSG. If you want to get crazy with spices, don’t let them exceed 2 parts, otherwise, it can inhibit the absorption of the salt. Make a big batch of this and evenly shower it onto every inch of your turkey. Be sure to get in between the legs and wings, we want every bite to be delicious.
Then time does all the hard work for you. Let the turkey rest uncovered on a wire rack for at least 24 hours and up to 48 hours before roasting (the longer the better).
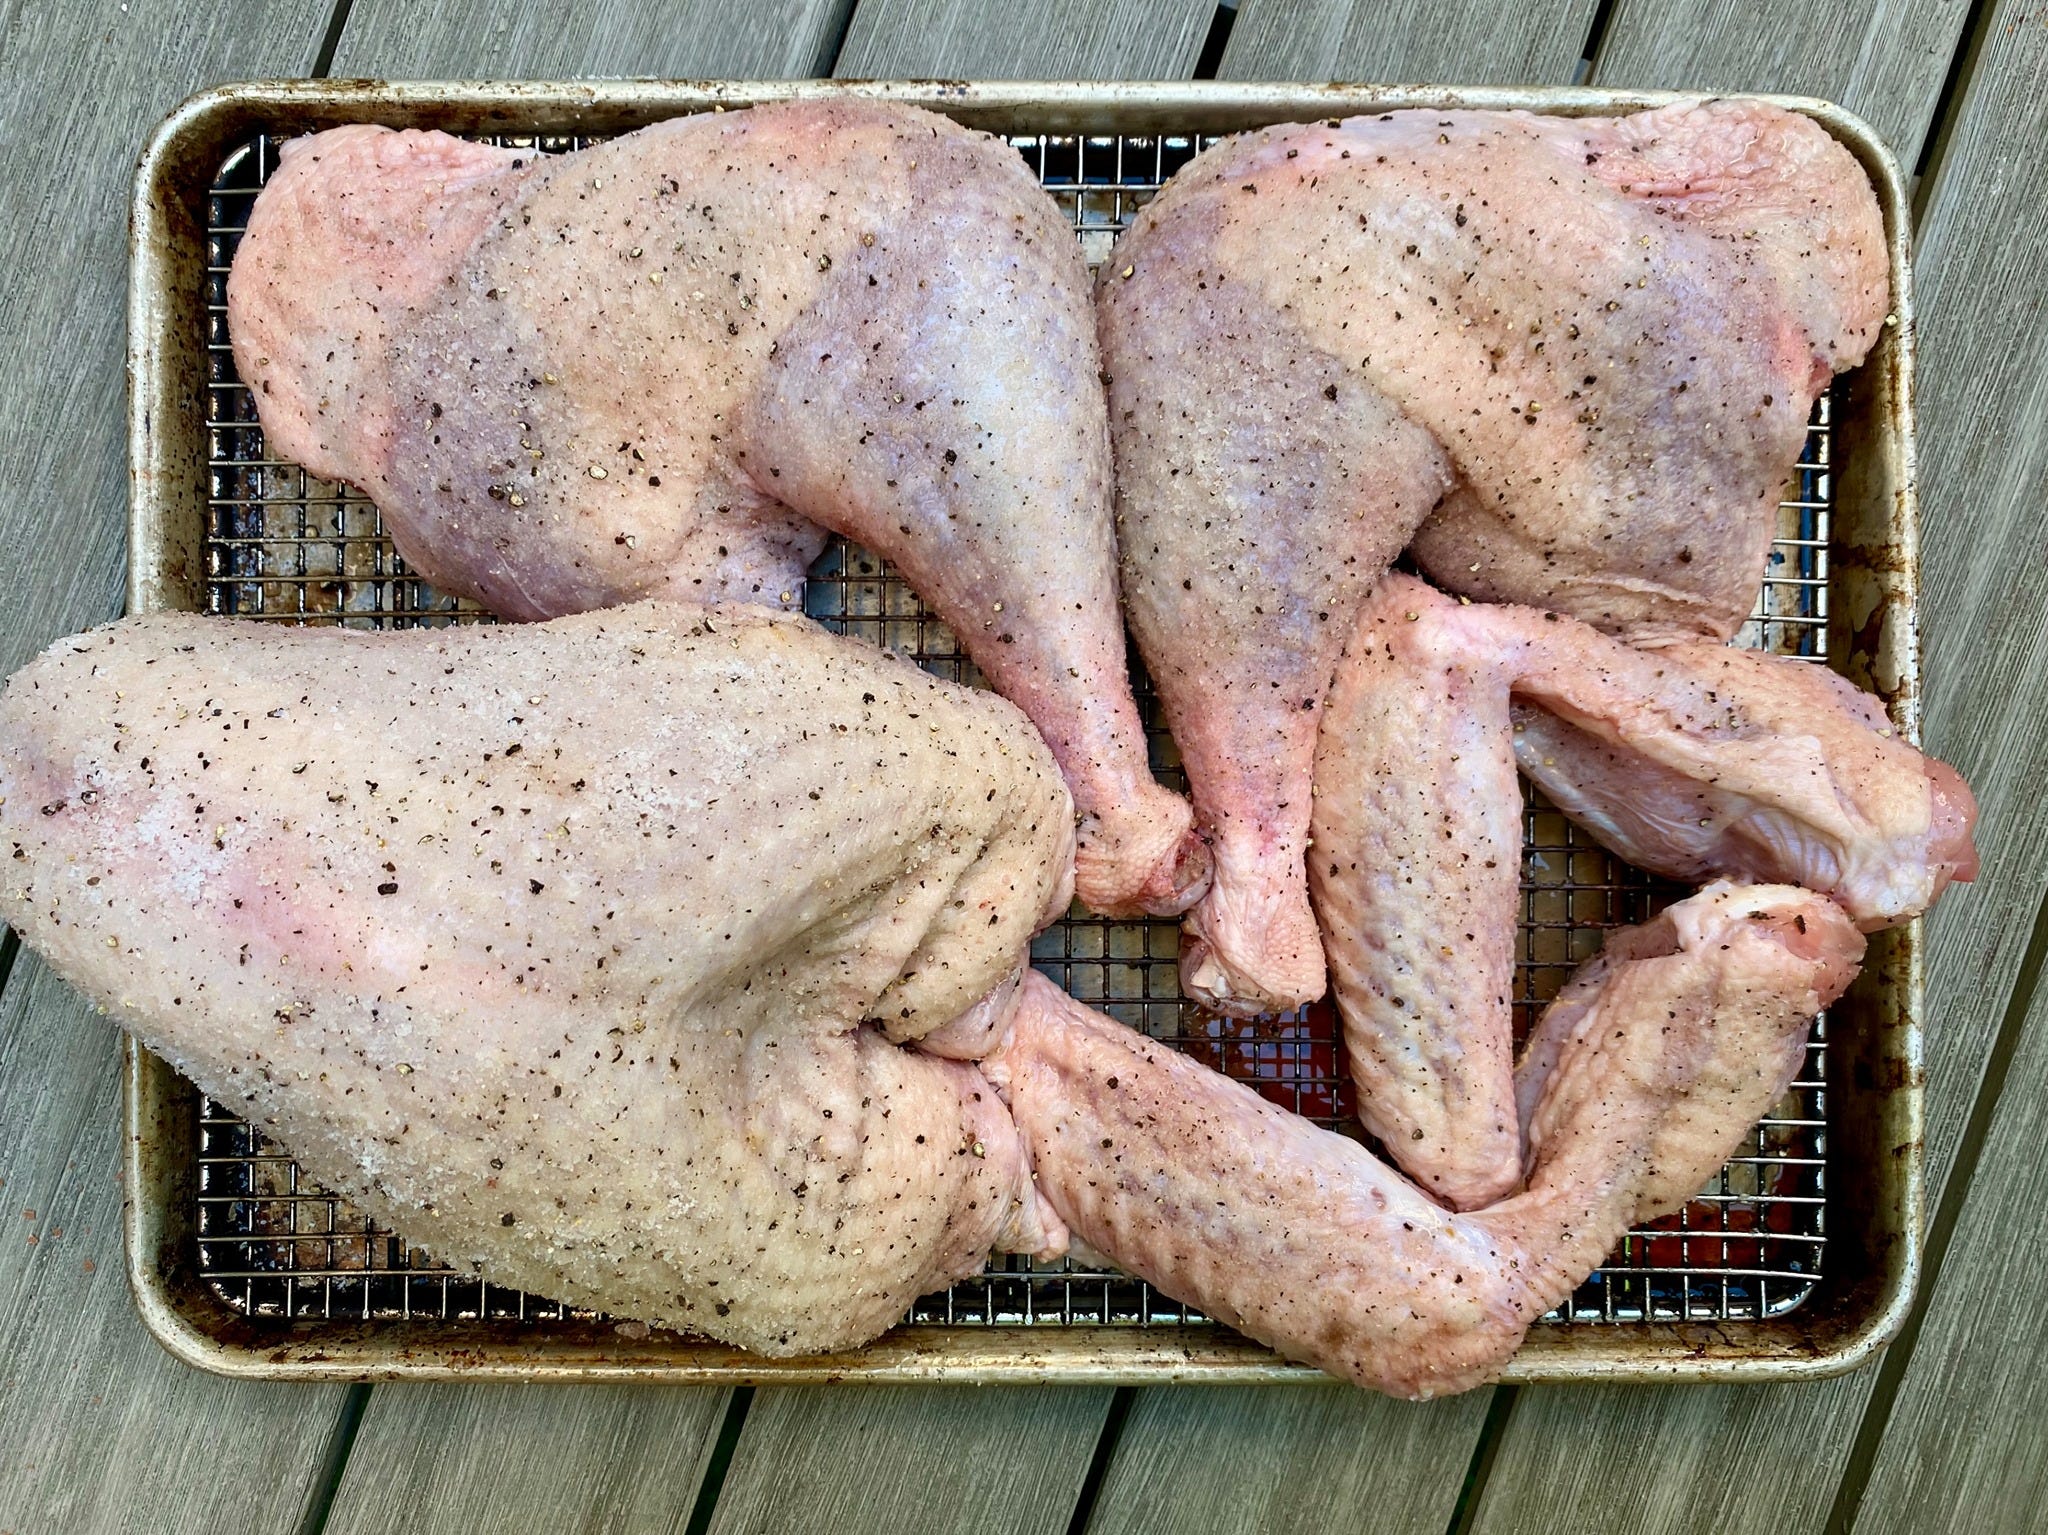
Broken down turkey just after sprinkling on the dry brine

After 24 hours you can see the skin looks taught and dry, ready to get so golden!
TEAM OVERACHIEVER
I'll be posting a video of this on my IG later this week—stay tuned!
A quick disclaimer for my fellow overachievers: You’ll need a few tools before going this route. If you don’t have a sharp knife, I suggest getting a new grocery store knife. You don’t need a fancy knife, just a sharp one. And you definitely need a metal spoon large enough to baste the turkey with the butter. When you do have the right tools in place, get ready, because you will never go back to any other form of turkey cookery ever again. (And for everybody else, the spatchcocked turkey really is very good!)
You can do this! I promise it's not that hard!
Break It Down & Brine
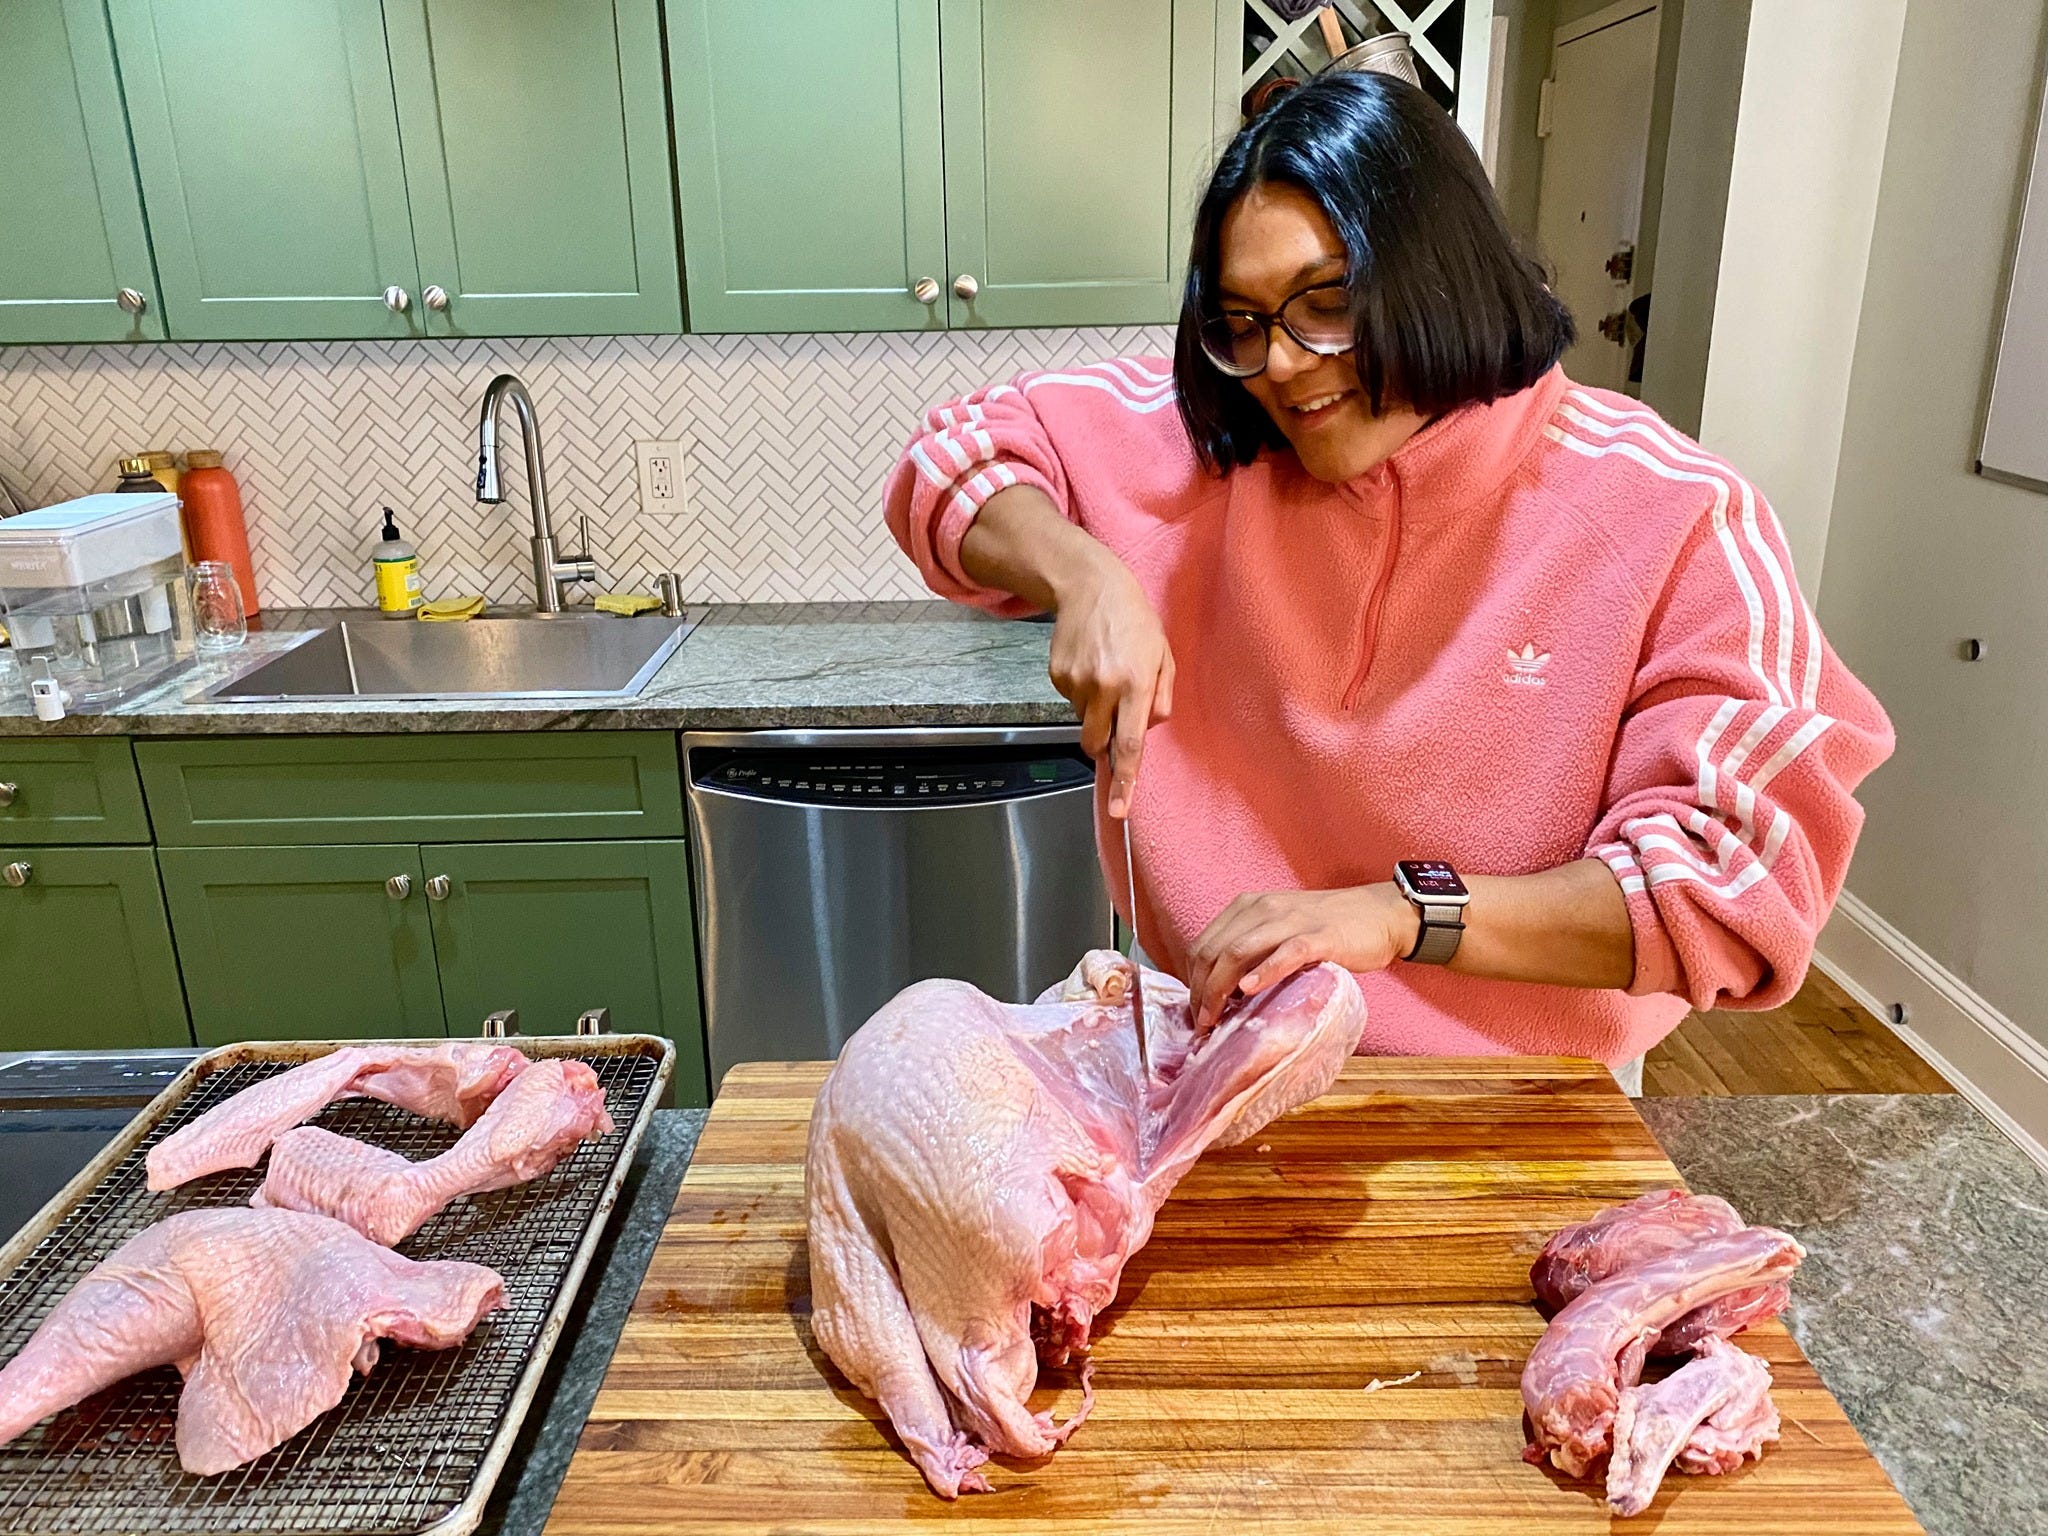
Breaking down a turkey is no different than breaking down a chicken. It's only bigger. We're just slicing through skin and joints, if at any point you hit bone, take a step back. Try to pry apart the wing or leg with your fingers to feel around for the joint. With a sharp knife, you'll slip right through it.
I like to start with the wings, using the tip of my knife to slice through the skin so I can peak at the joint and pop it open with my hands if necessary. Then I use the blade of the knife to cut through the joint where the wing meets the breast. You can cut off the wing tip to roast for stock, or keep it attached to nibble on after cooking. I always slice open the wing, cutting through that strip of skin that attaches the flat and drum of the wing, to allow for better rendering of the skin.
Then I move onto the legs, once again using the tip of my knife to cut through the skin, and then popping open the joint with my hands, before slicing through the joint where the thigh meets the backbone.
Finally, I position the breast with the cavity facing up and cut off the back by slicing through the ribs. Save the backbone and neck for gravy (that recipe will be coming your way next week) and dry brine the parts using the method I shared earlier.
Get Golden Brown
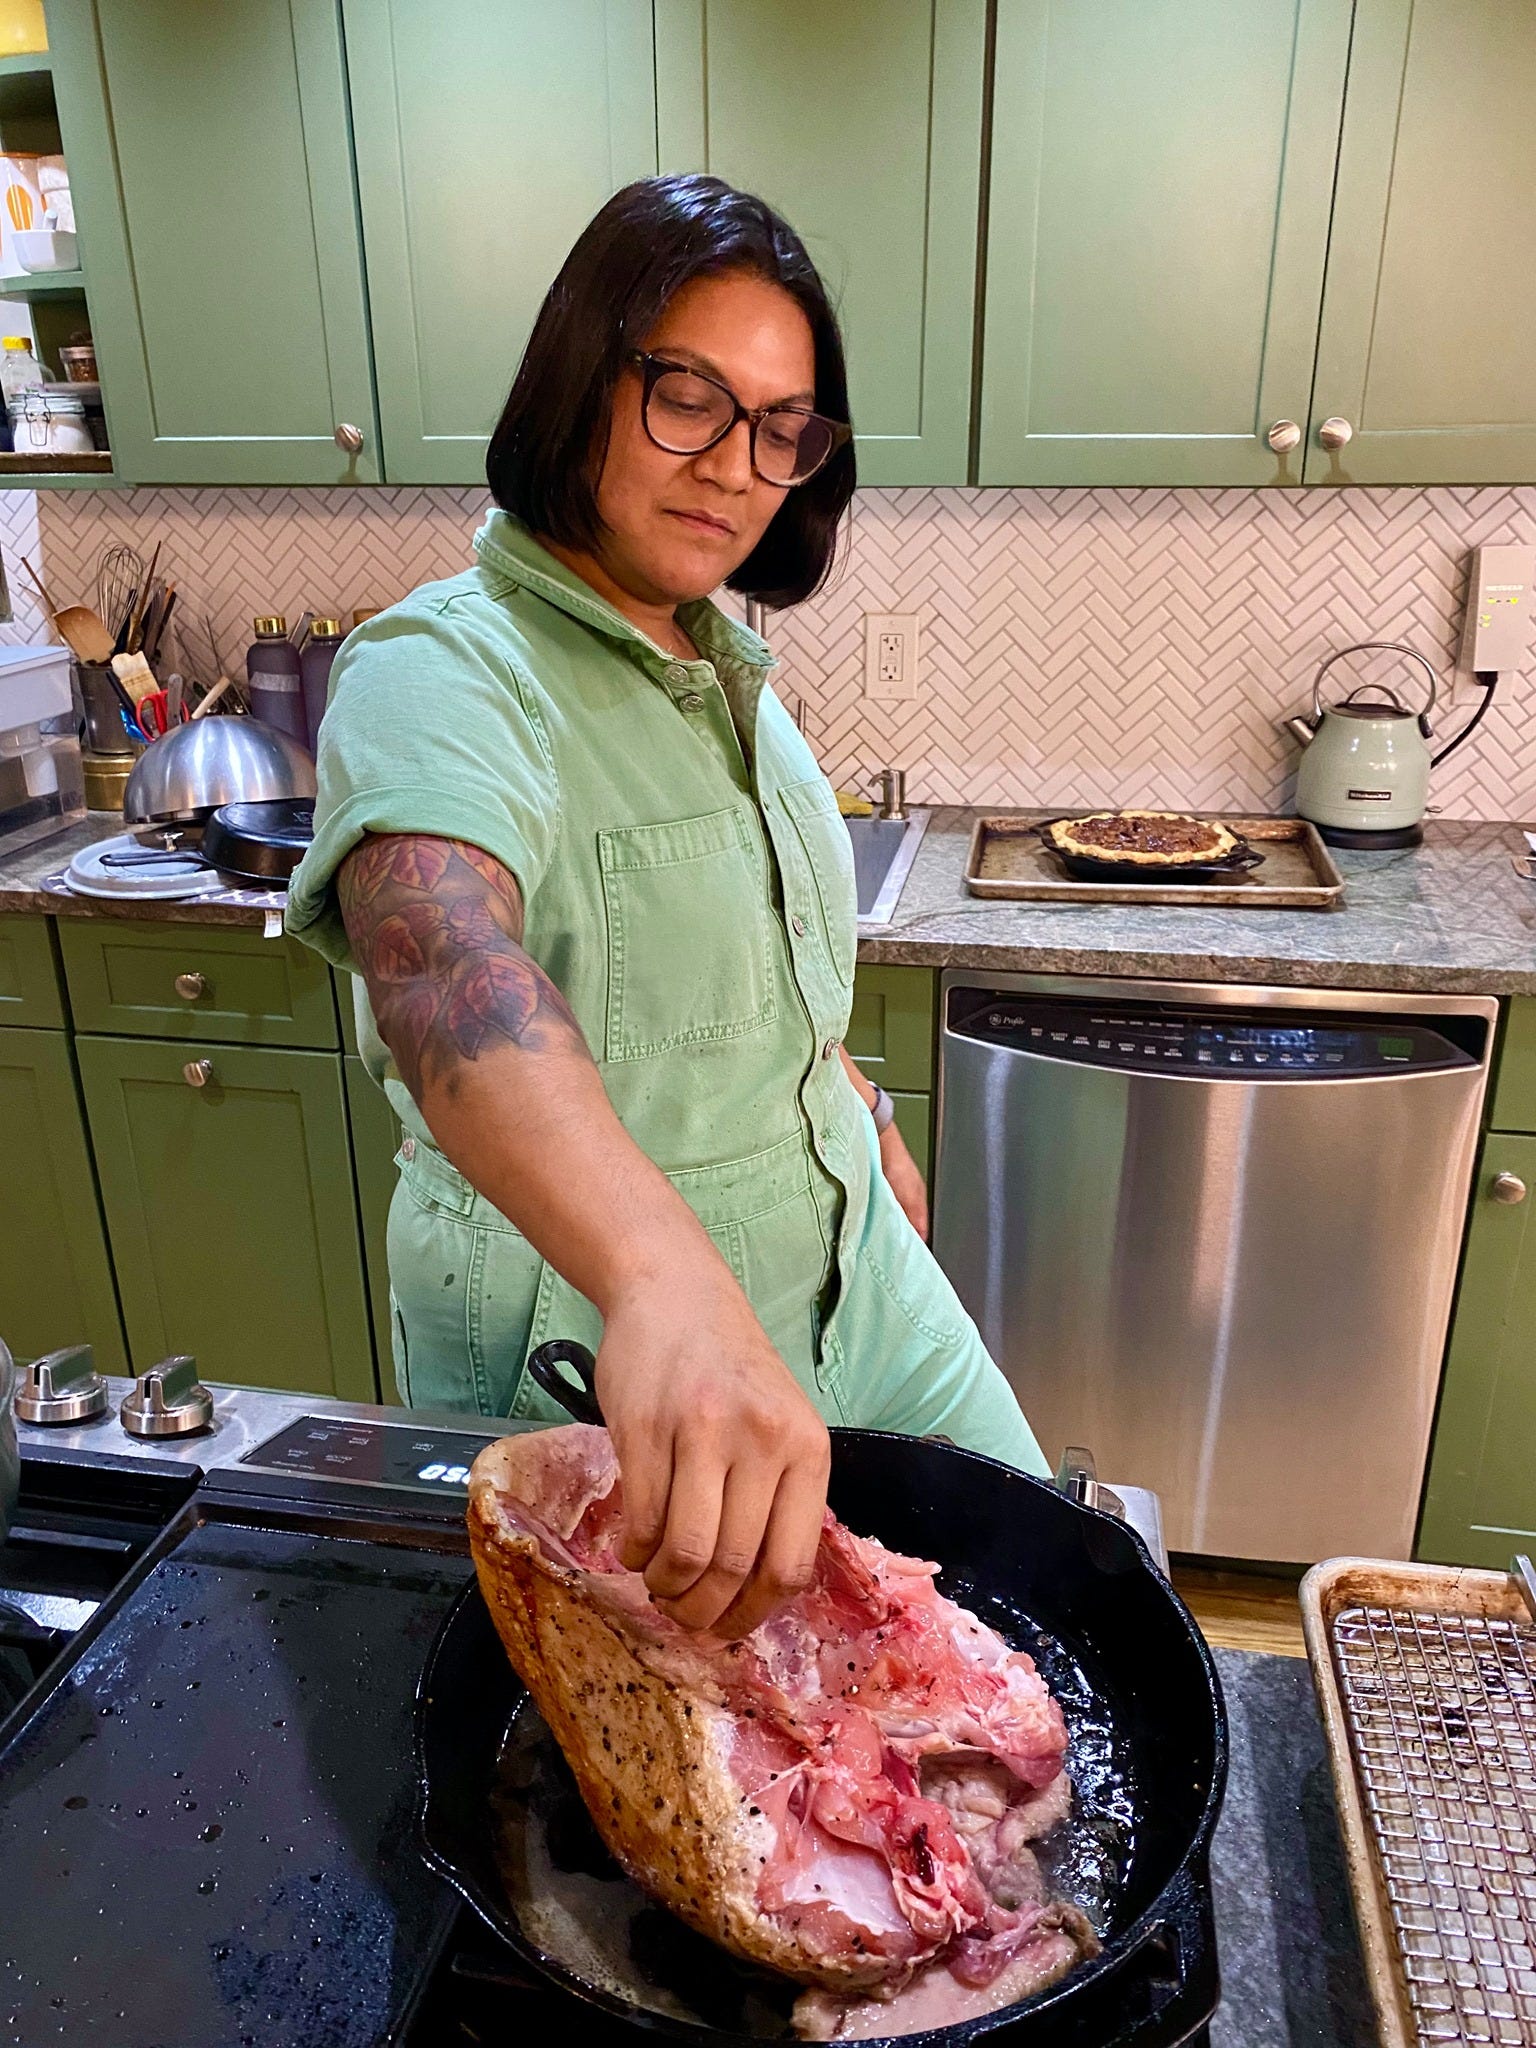
Heat neutral oil (sunflower and grapeseed are my favorites) in a cast iron or heavy-bottomed stainless steel skillet over medium. Stay away from nonstick, which won't give your bird the browning it deserves. Moderate heat is key to rendering the fat on the skin while making sure you get even coloration without burnning. If at any point the cast iron is looking too hot, turn the heat down to low.
Sear each turkey piece, using tongs to help you wrangle them, until evenly browned all around. You may need to weigh the pieces down with a press, another skillet, or a brick wrapped in foil for even contact with the pan. With awkward pieces like the breast, you’ll have to take your time moving the breast around to get an even sear all over. As you sear each piece, return it to the wire rack you used to dry brine the pieces.
For the breast, you'll have to move it around with your hands to get golden all over
Butter Baste
Once everything is seared, I turn the heat down to medium-low and, in the same skillet, melt two sticks of butter with several smashed garlic cloves, thyme, and sage. Monitor the heat so the butter stays hot and foamy, even slightly golden, but doesn’t get too dark. Return one to two pieces of turkey to the skillet, skin side up, and use a big spoon to scoop the hot butter up and ladle it over the pieces. Continue this basting until deeply browned, about 2 minutes per piece.

Take your time basting each piece
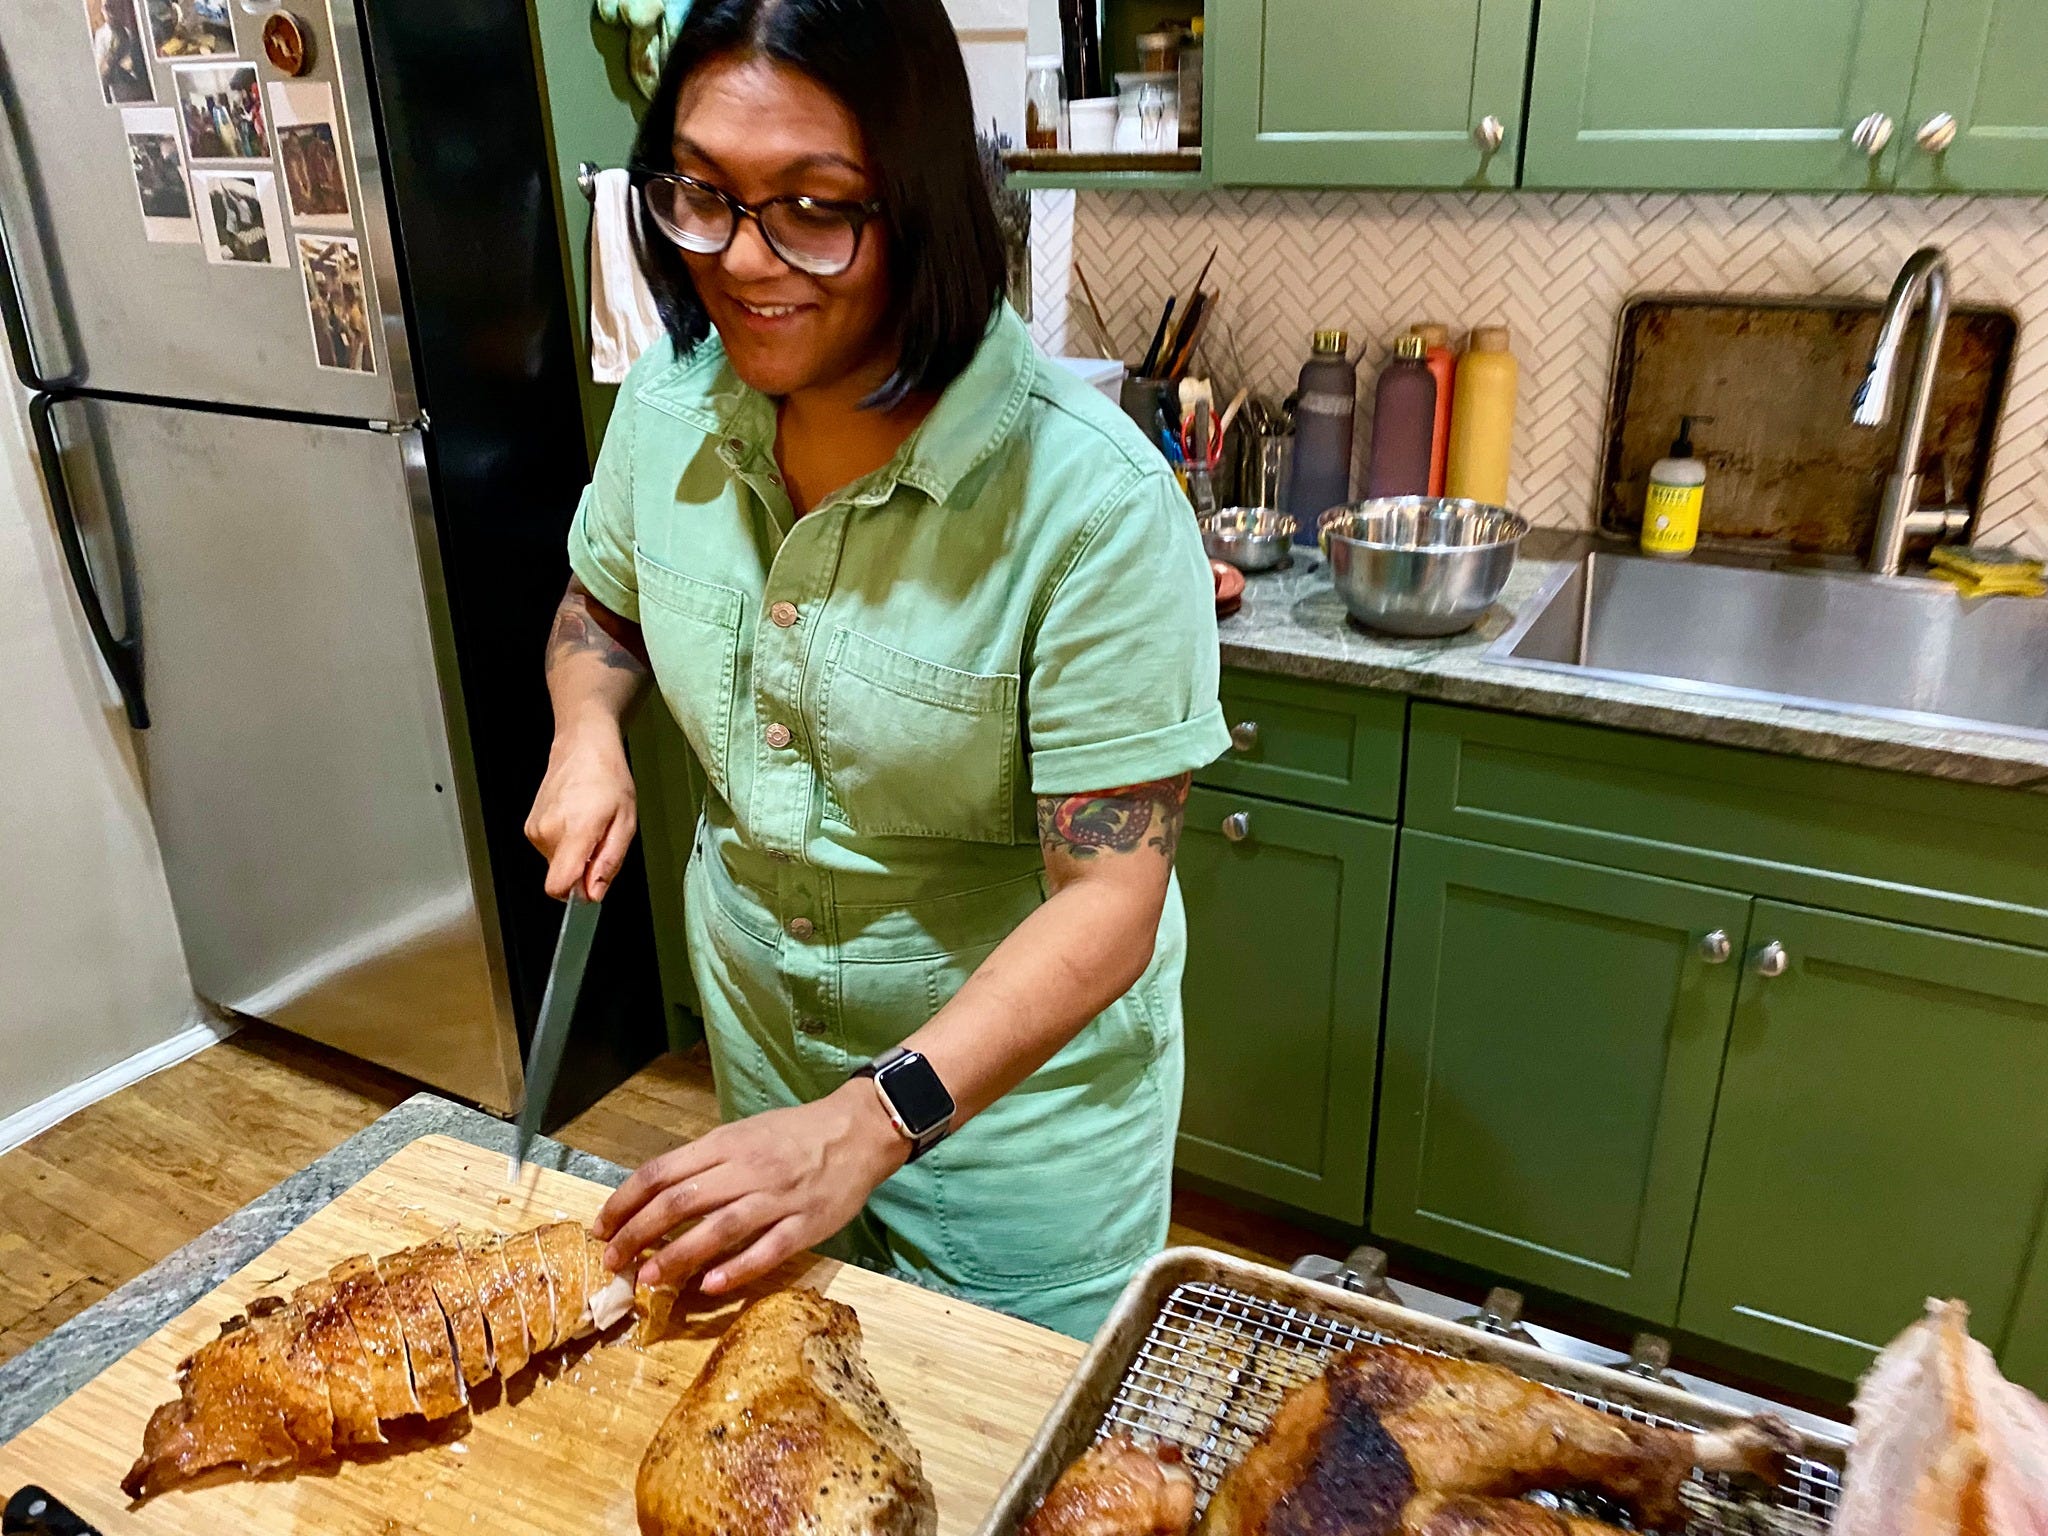
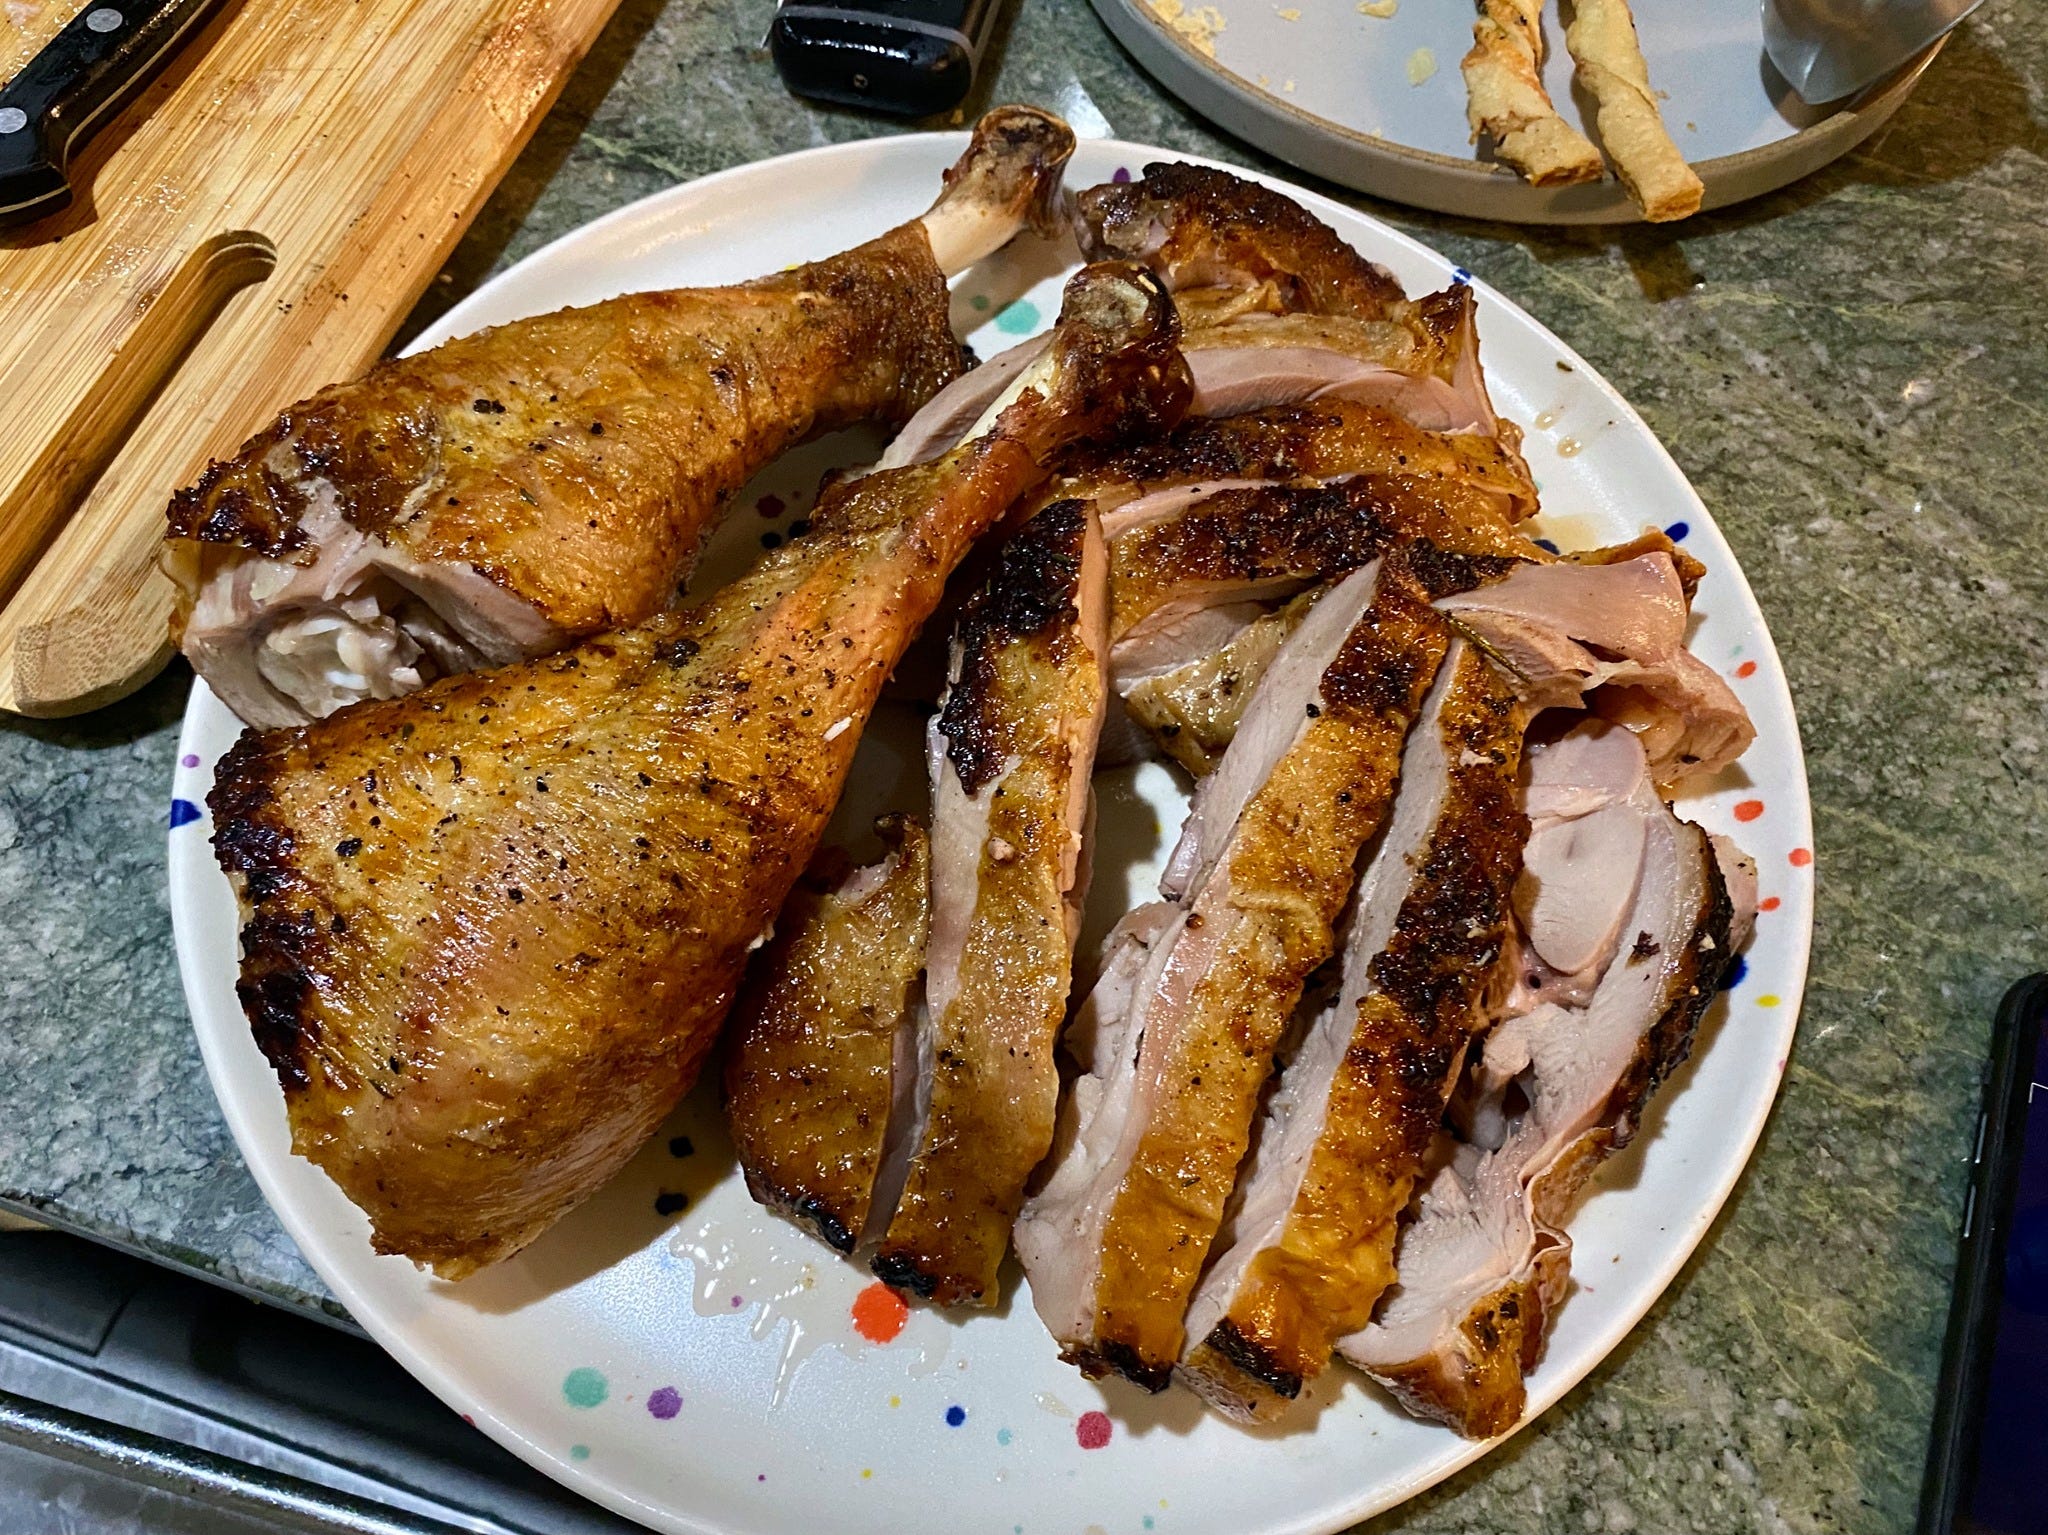
As you finish basting, return the parts to the wire rack/sheet tray setup. Then I finish cooking my turkey parts in a 350°F oven. Roast the pieces until the breast registers 150°F to 160F and the dark meat reaches 175°F to 180F. The benefit of cooking in parts is you can remove the breast earlier and give the dark meat longer to cook, so every piece is perfect. Let them rest for at least 20 minutes before carving.
Note: I like my breast at 150F, which I know can be scary for some, but if you get a high-quality bird I recommend you give it a shot. It will be the juiciest and most flavor full turkey breast you've ever had.
TEAM EVERYBODY ELSE
If you want more info on this method, I have a more detailed recipe for it here and you can also listen to me talk about it on Al Roker's podcast here. There will be a video for it available soon, too!
Spatchcock That Bird
Spatchcocking is when you remove the backbone of poultry and then press it flat. This method ensures your bird cooks faster and more evenly, and the benefits are only magnified when you take it from a chicken to a turkey. The fat renders even better when combined with a dry brine, leaving you with perfectly crisp skin.
My favorite tools for the task are my handy dandy kitchen shears. I start with the breast side down on my cutting board and then cut along both sides of the backbone. Once the backbone is removed (which I always save to toss into my next stock), I flip it over and give the breast a firm two-handed press until I hear the breast bone crack. It is now ready for the dry brine.
Roast Away
Once the turkey dry brined, it's ready to roast. Since I’m counting on my oven to brown my turkey, I go for 425°F. I rub oil or ghee all over the skin, add a couple of cups of water to the sheet tray to create a steamy environment, and into the oven it goes. That’s all there is to it.
A 12–14 pound turkey will take about 90 minutes, but I always count on a thermometer to tell me when my turkey is done. Like the turkey in parts, I aim for at least 150°F to 160F in the deepest part of the breast and 175°F to 180F for the legs. If at any point it seems like the skin is browning faster than the meat is cooking, turn the oven down to 375°F until you hit your temps. Let the turkey rest for at least 20 minutes before carving.
Armed with these two methods, you've got this! I promise you golden brown, flavorful, and MOIST turkey.
Regardless of how you roast your turkey, make sure you let it rest before carving
And if you want to go beyond the basic turkey:
Add woody herbs (like sage, thyme, and rosemary), garlic cloves, lemon slices, or halved shallots under the turkey while roasting for extra flavor.
Add up to 2 parts of ground spices to your dry brine (try garam masala, turmeric and black pepper, ancho chili powder and brown sugar, or garlic powder and dried herbs)
Brush on a crackly glaze in the last 20 minutes of cooking (simmer together maple and vinegar or stir together honey, miso, and chili)
Hit me with any questions below before the big day. I'll also be doing a Thanksgiving AMA on my IG next week, so stay tuned for that date!
Forgot to take a beautiful beauty because we were too eager to eat!
happy almost thanksgiving!
sohla
I’d like to cook my turkey the day before. What’s the best was to reheat it without drying it up?
I’d like to cook my turkey the day before. What’s the best was to reheat it without drying it up?